Welcome! This page contains documentation for my Texture Baking Addon for blender.
Use the navigation panel on the left to quickly jump between sections.
This addon makes texture baking feel more like pressing F12 to render a scene, than the long and frustrating process that it can be by default. It achieves that by requiring collections that organize your high and low-poly assets before baking, this gives the addon enough information to be able to automate the rest of the baking process, resulting in a fully textured low-poly asset.
The addon also has additional options for baking single maps, switching outputs, and auto saving the bake results to your hard drive.
To be completely clear, while my addon excels in automating common baking tasks, it may not be able to fully automate baking for complex setups. The addon prioritizes speed and efficiency over flexibility, so if you're looking for total customization, this is probably the wrong tool for you and I'd recommend taking a look at some of the other excellent baking addons that are available.
The addon can be purchased and downloaded from Superhive.
In Blender, select Edit->Preferences, click on the Addons tab, click Install and open the file: djh_bake_batcher.zip.
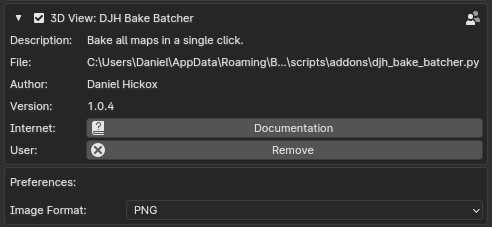
The addon has a single preference, to select the file format of baked images.
The best way to interact with the addon is via the 'N' panel of the 3D Viewport. The addon's UI is located under the 'DJH' tab.
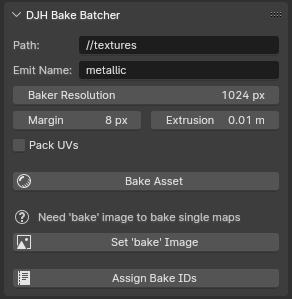
At the top of the panel are some general settings. 'Path' sets the path to the directory where baked images will be saved. The path can be relative to the .blend file or an exact path can be copied in from your file browser.
Baking via emission is a good option for many kinds of maps. When baking single maps, you can adjust the name of the baked texture via the 'Emit Name' setting.
With 'Bake Resolution' you can select the resolution used when creating textures to bake to. For simplicity sake, the addon only creates square textures.
Margin is the pixel margin to render around uv islands, and Extrusion is the distance the base mesh will be expanded before baking.
Pack UVs toggles whether the uv maps of all objects in the low-poly collection will be packed into one UV space before each bake, or to skip that step if you've prepared your UVs ahead of time.
If you click 'Bake Collection' before assigning the active object to a hp or lp collection, you will get an error message.

To bake from HP to LP in 'One Click' you need two collections. The names of the collections should be identical except for the suffix, which should be '_hp' for high-poly and '_lp' for low-poly.
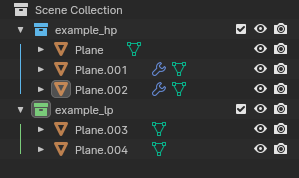
Clicking 'Bake Collection' again will tell you that the origins of the collections must be defined and that empties have been created.

In the 3D Viewport, place the empties in the same relative location for each collection. This will be the origin point of the created mesh, and allows the HP and LP collections to be side by side rather than overlapping. For example, both collections could contain objects arrayed along the X axis, but the HP collection could be offset a few units along the Y axis.
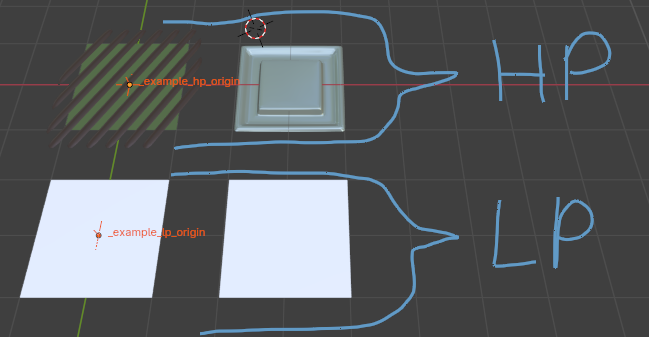
Now we are all set up and clicking 'Bake Collection' will finally bake something. It will merge the collections into temp meshes, pack their UVs, and create all the needed images. It will bake the baseColor, roughness, metallic, AO, and normal maps, name them and save the images to your hard drive. Finally, it will create a new material with the baked textures, assign it to the merged 'LP' result, and then clean up.
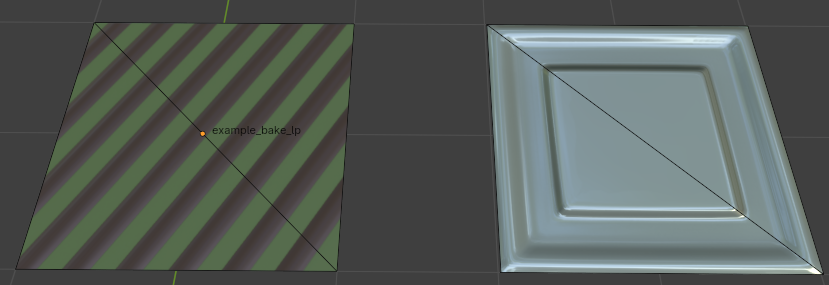
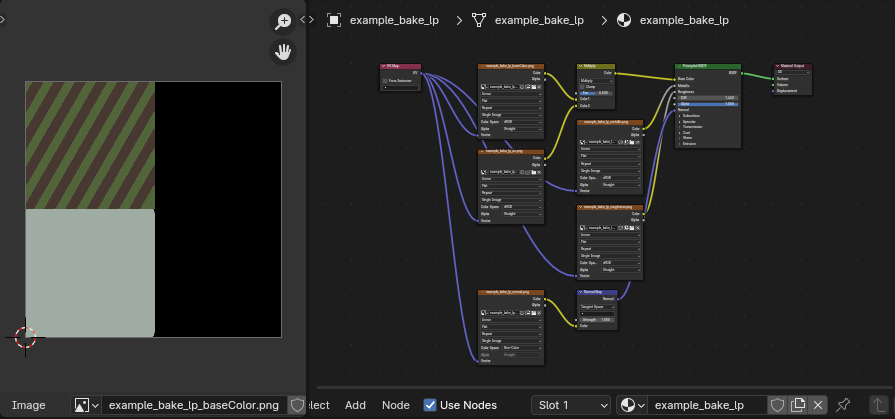
Clicking 'Bake Asset' again will replace the result of the previous bake with a new one.
Note that one limitation of this method is that, due to how the UVs are packed, the result of each bake may have a slightly different UV layout.
Also note that the 'shader' node must be identified in every material you are baking from. The addon attempts to do this automatically but may need help in some cases. See 'Preview' below.
If you need more control, and can't bake in 'One Click,' there are some other tools that can improve your baking workflow. To use them, a material on the selected object must contain an image node that is labeled 'bake.'
The 'Set Bake Image' button can set this up for you.

Once a 'bake' image has been set, additional options will appear in the Baker Panel.
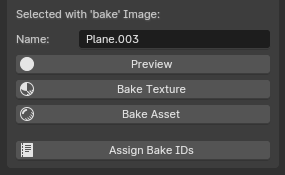
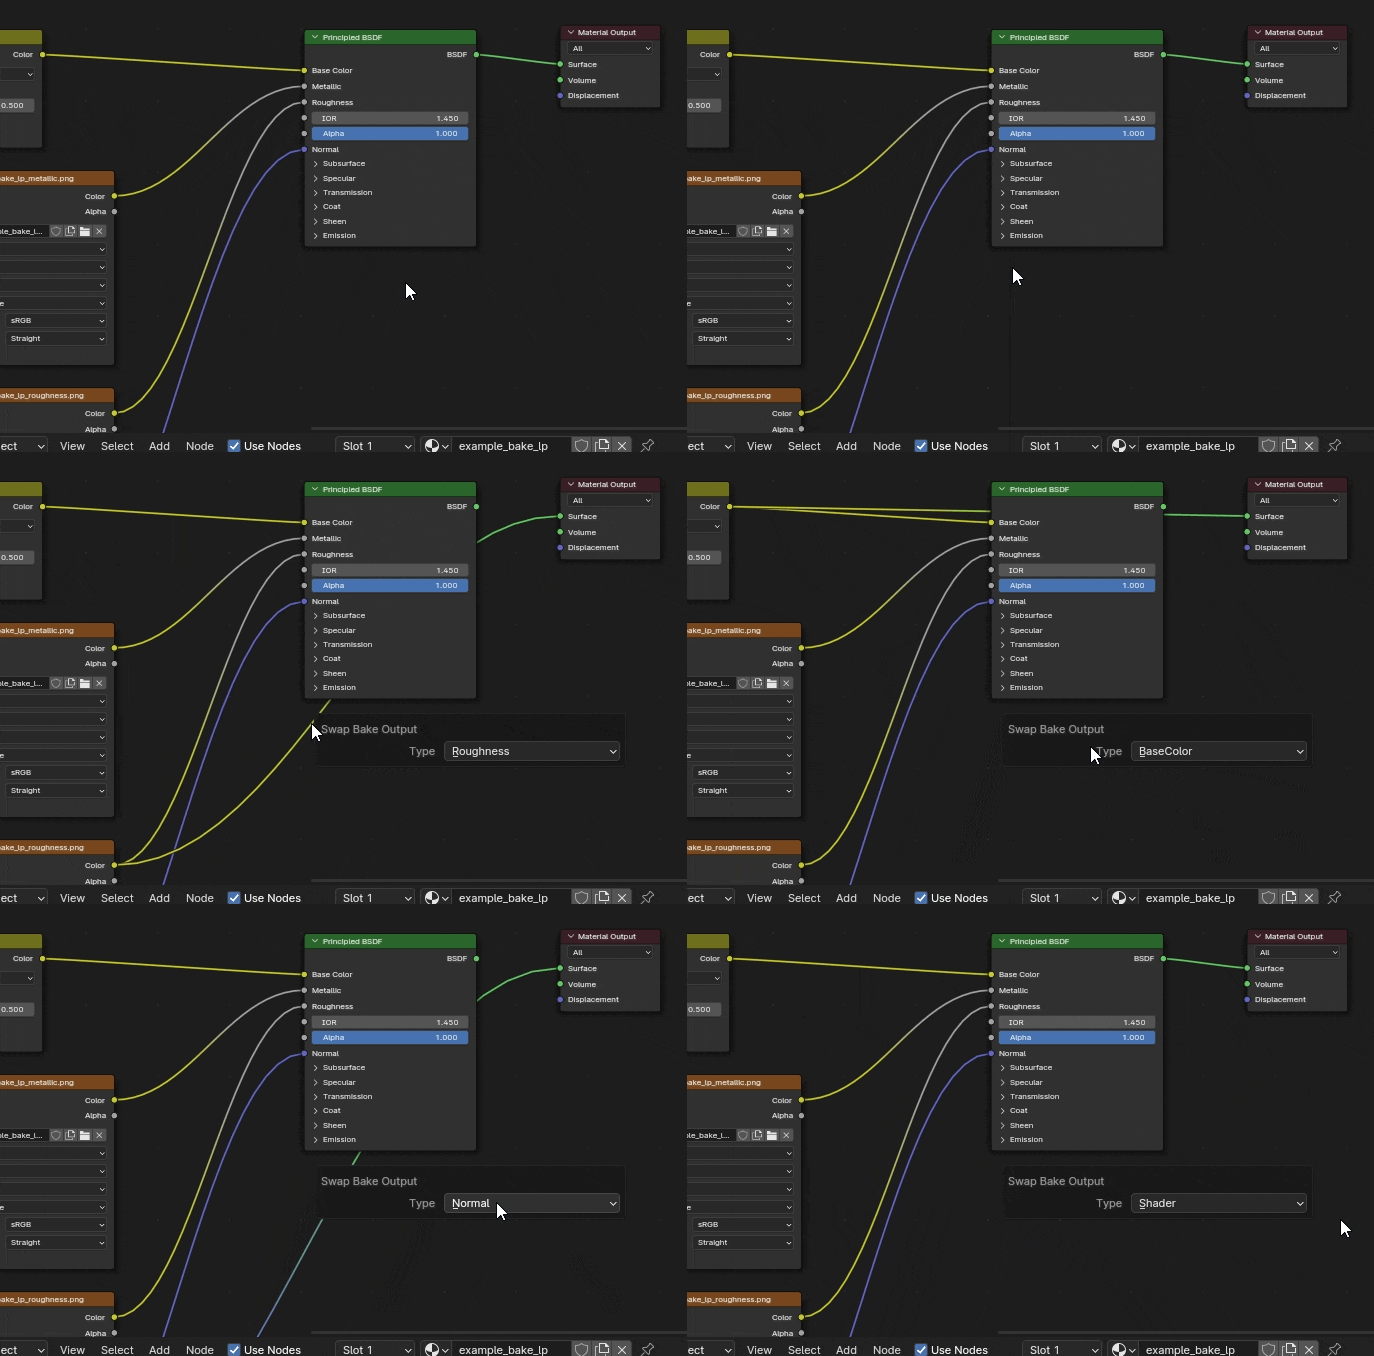
Preview (Swap Bake Output) will edit the materials on the selected objects so that the map type you select is connected directly to the material output socket.
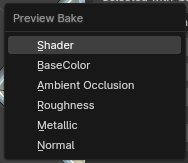
To correctly preview/bake the output you select from the menu, the operator must determine which node in your material is the shader. To do this, several rules are applied as follows:
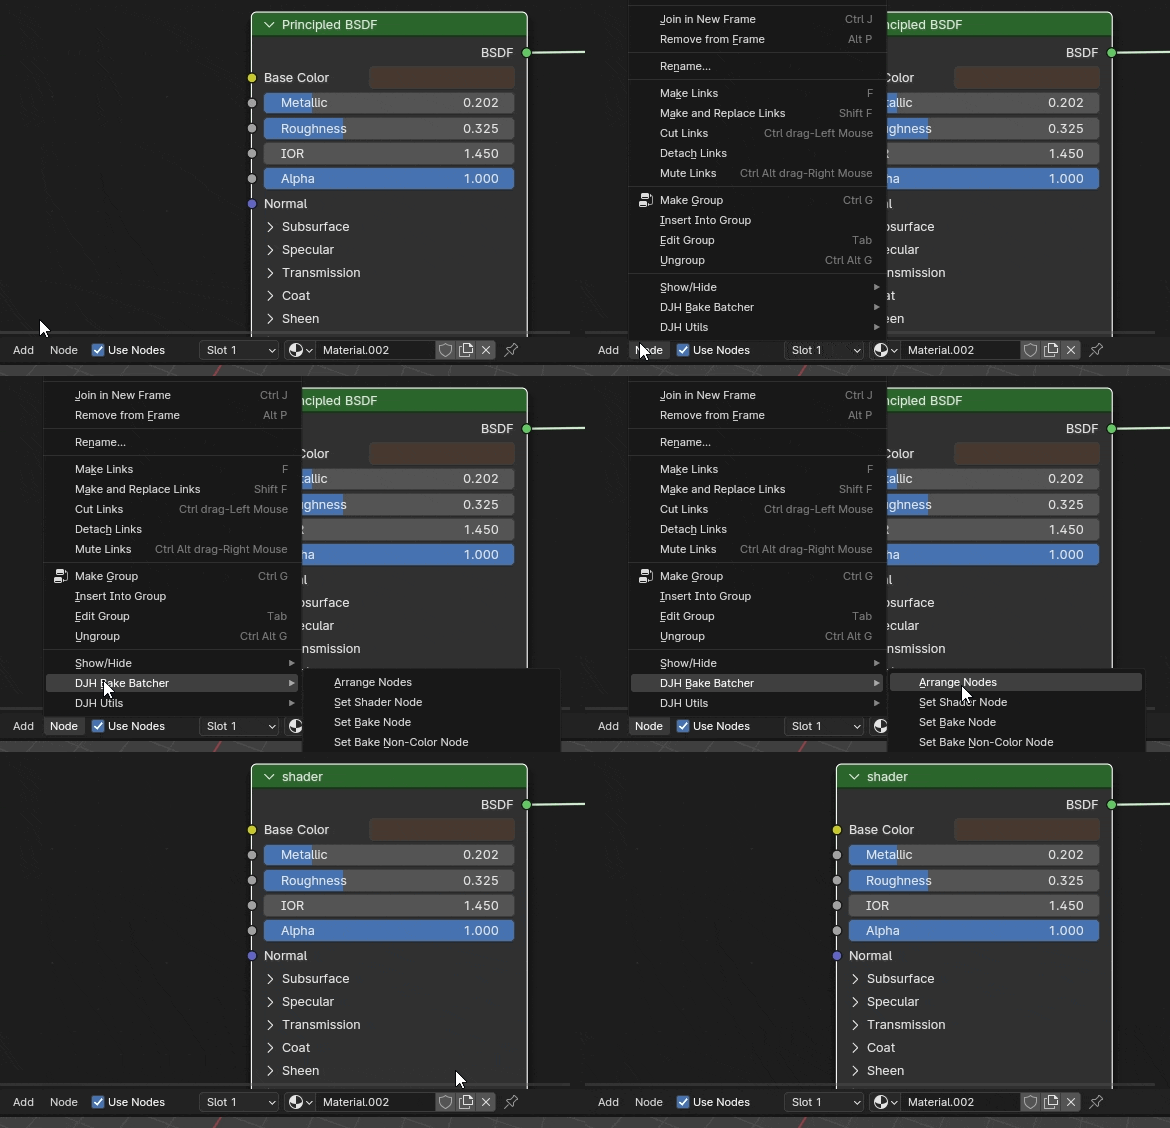
The most reliable way to ensure that the correct node is selected as the shader is to tag it, there is an entry added to the Shader Editor->Node menu that does this.

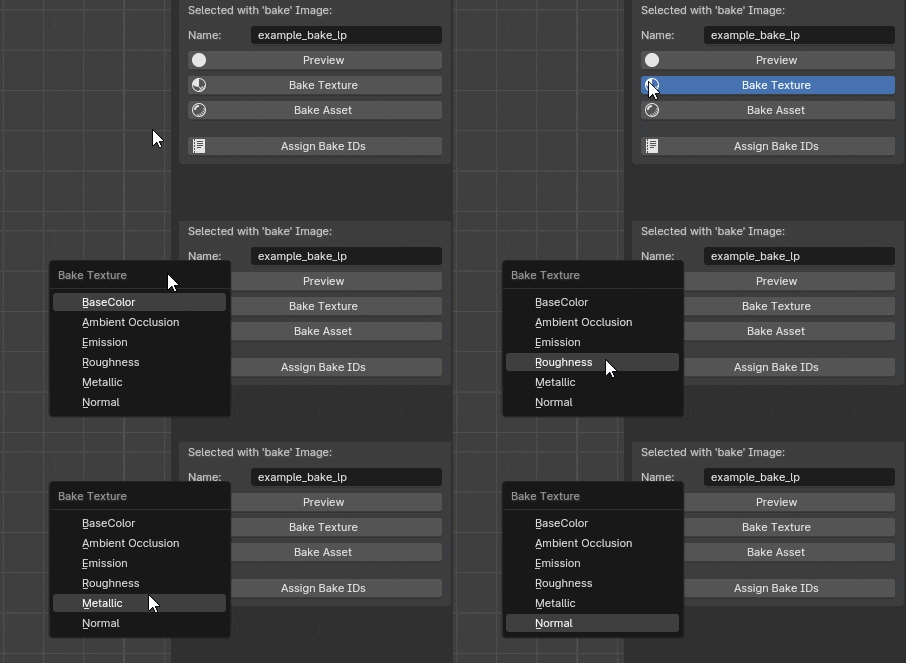
Bake Texture will let you select a map type to bake... if only one object is selected, it will bake from that object directly. If two or more objects are selected, it will bake using the 'Selected to Active' option.
Bakes from an 'asset_hp' collection and an 'asset_lp' collection, into a merged single-material mesh. Any existing objects or images with identical names will be replaced by the results.
Same as clicking the 'Bake Collection' button.
(Don't call directly, use menu instead) Bakes a texture of the specified type. Bakes to the image tagged 'bake' in the material.
Changes which socket is connected to the shader output on the selected objects.
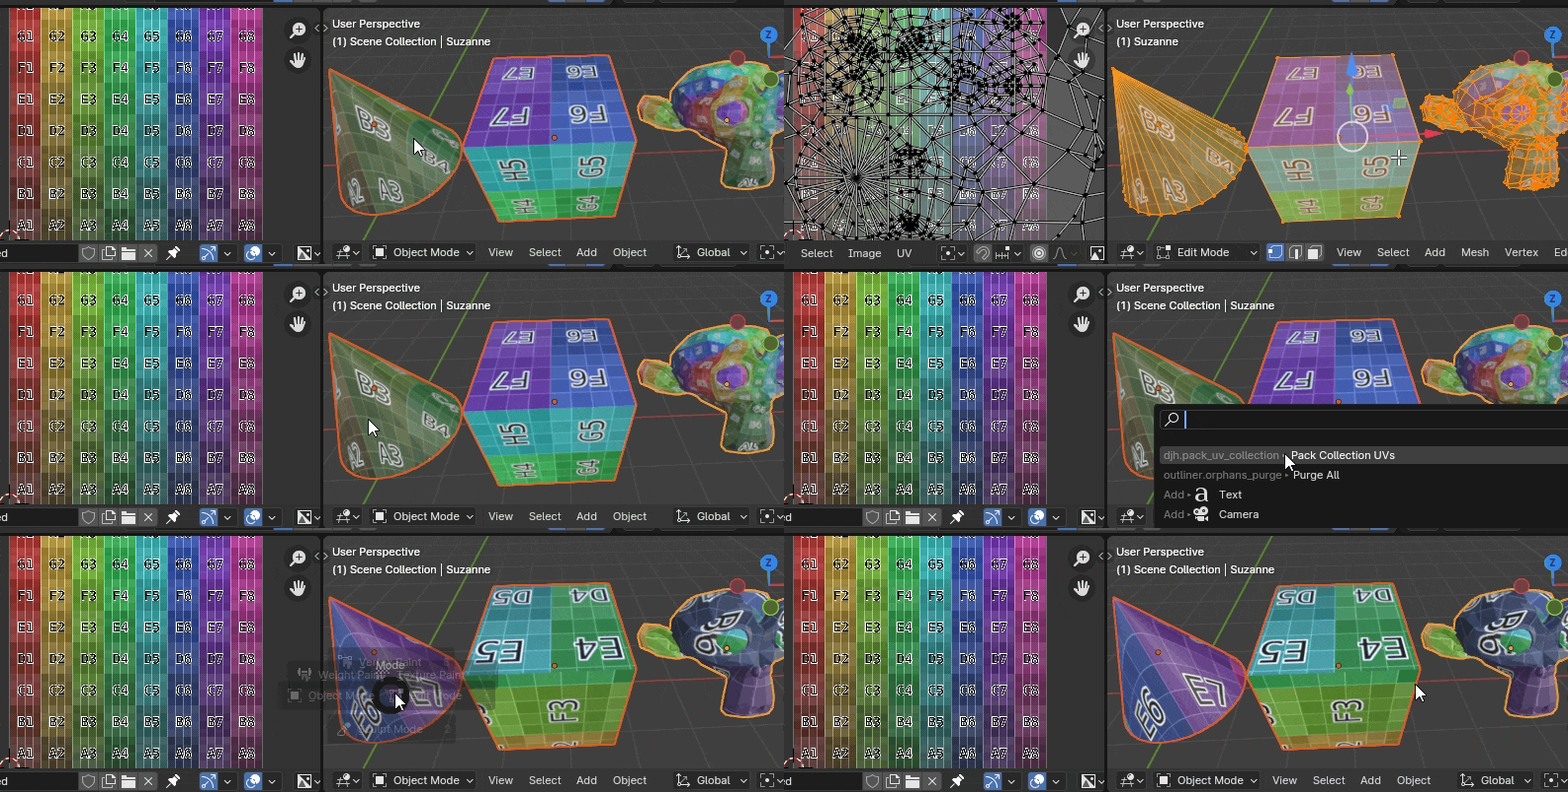
Packs the UVs of all objects in the collection into one UV space. Note: For this to work on curves, you must convert them to a mesh.
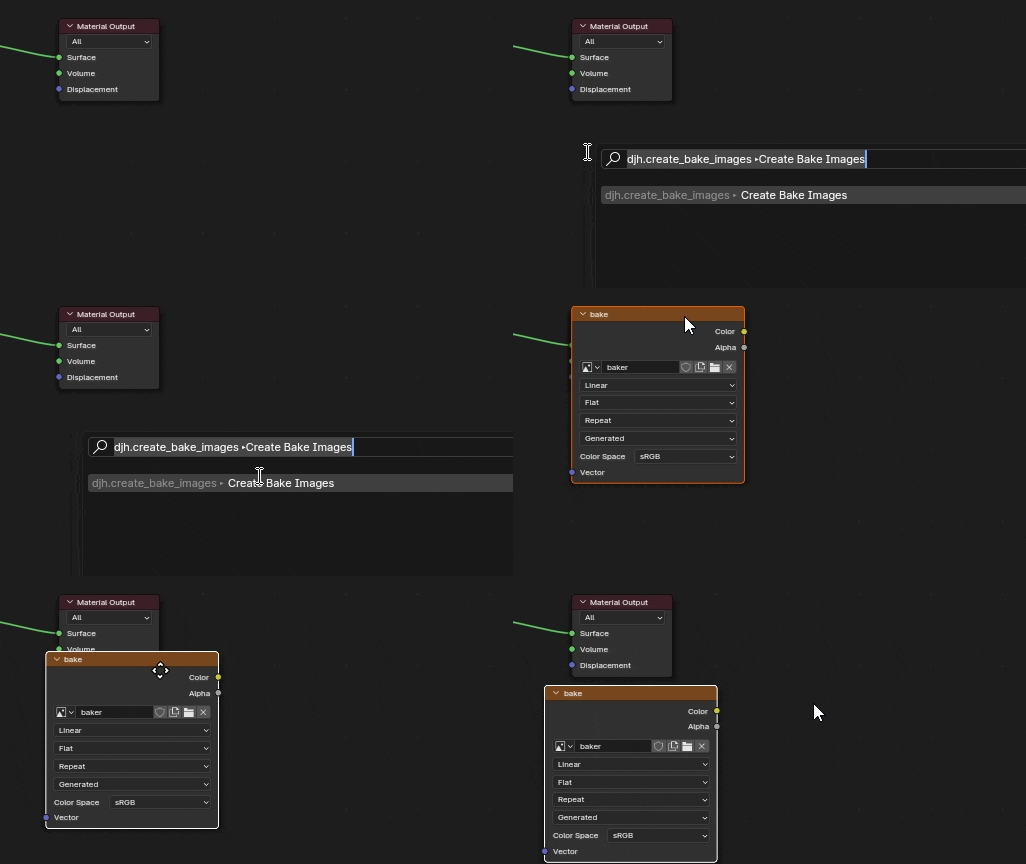
Adds a 'bake' image to all materials on the selected objects.
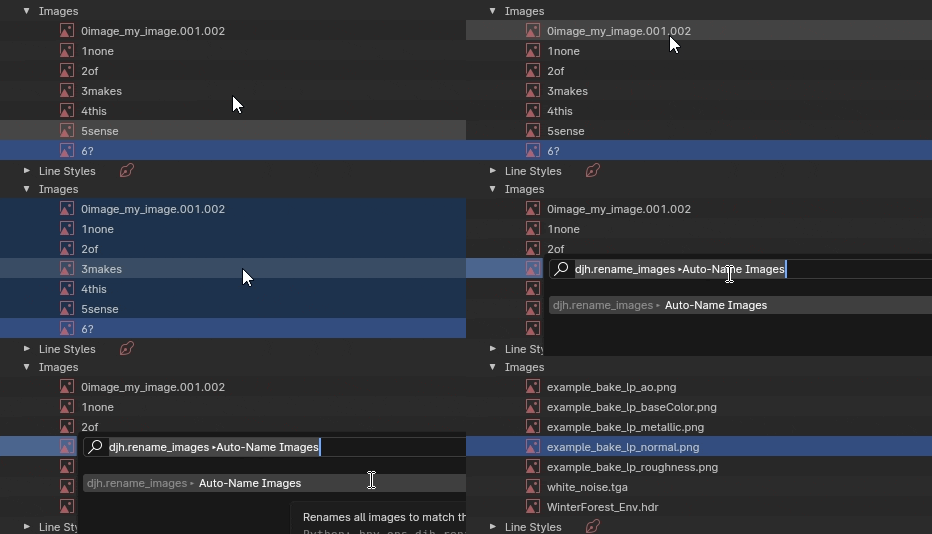
Renames all images to match their filenames.
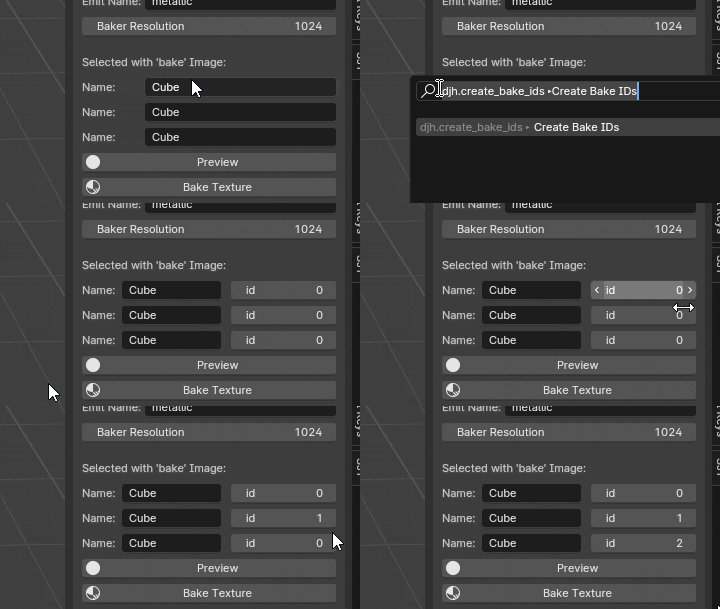
Create custom props for bake batcher output filenames, useful when baking object variations that share mesh data
Arranges all nodes in the current node tree
Sets the label of the active node
