
When exporting a creation from Blender to Unity, I wanted the process to be as simple, flexible, and powerful as possible. I wanted to be able to export objects created with Geometry Nodes without applying the modifiers, I wanted the possibility to export instances from Blender without converting them all to a mesh, and I wanted it to be fast.
The BAsset Tools are my answer to the question, 'Could we export an arrangement of objects from Blender and import them into Unity as a prefab?'
Obviously, the answer is yes, all that and more.
Bulk FBX export? Required.
Materials? Why not.
Texture Packing? If you'd like.
Take a look.
The new material features allow you to take a selection of objects and export all their materials and textures. For complete flexibility, you can use the By Texture Suffix option and customize all the filenames in the user preferences.
On the other side, the Unity Importer will convert the exported data into a material and attempt to add the textures to the appropriate slots.
NOTE: Some manual edits will still be needed, for transparent materials, etc.
Before we can export a scene or arrangement of objects from Blender, we need a copy of those objects to be assets in our Unity project.
Blender Objects, Linked Duplicates, Instances, and the Unity Assets are connected via a shared name, the 'Object-Data Name' from Blender. The FBX tools provide quick and easy ways to get all the objects/instances from your Blender scene into your Unity Project as Assets.
The Bulk Export will save each object as its own FBX. FBXs containing multiple objects are also supported but must be selected and exported one by one.
By default, the Unity Importer will also create a prefab copy of each FBX asset. You can add scripts and components to the prefabs, (e.g. to add collision) and prefabs will always be used in preference over FBX files when importing a .basset file.
BAssets are JSON files containing a list of instance names and their transforms. In Blender, you simply select what you want to export and click the export button. Objects, Linked Duplicates, and Instances are all supported, GeoNodes that spawn instances are also supported.
On the other side, the Unity Importer will search your project for assets with matching names, and then generate a Prefab from those assets.
You can customize which asset is paired with each instance name in the import settings of the .basset.
Due to a Unity limitation, the generated prefab is a separate asset from the .basset. You can jump to the prefab by clicking on it under the BAsset Link component.
The prefab can be dragged into you scene like any normal prefab.
NOTE: The generated prefab should not be edited as an asset directly. Add it to a scene or make a prefab variant before adding components or scripts.
NOTE!!! Due to the many changes, it has been reported that BAsset files exported with an older version of the addon may not import correctly with the new version. I recommend testing before updating for a large project.
A lot has changed since the last update, now you can:
After purchasing from Gumroad, download the djh_basset_exporter.zip file and the djh_basset_importer.unitypackage.
In Blender, open the user preferences, and select the Add-ons tab. Under the dropdown arrow in the upper right corner, choose 'Install from Disk...' and select the downloaded djh_basset_exporter.zip file.

Once it has installed, you can customize your preferences (see the User Preferences section for details) and the addon functions can be found in the 'N' Sidebar Panel under the 'DJH' tab.
In Unity, drag and drop the djh_bassset_importer.unitypackage into your project, and click import.
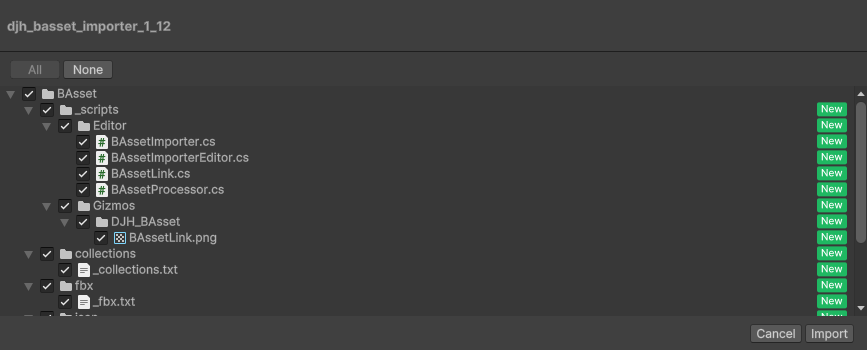
In the Unity project panel, right click on the 'BAsset' folder and select 'Show in Explorer,' then enter the BAsset folder and copy the full path. (e.g. "C:\MyGame\Assets\BAsset")

In Blender, in the BAsset User Preferences, paste the copied path into the 'Asset Export Path' field.
(Should end with: '...\Assets\BAsset')

Once that is done, you are all set up and are ready to start exporting data from Blender to Unity.
The Asset Export Path should point to the BAsset folder in your Unity Project's Assets folder.

These three fields allow you to customize the names of the subdirectories where different kinds of data will be exported.

Since Blender and Unity can't agree on how coordinates are done, the Forward Axis setting allows you to customize whether positive or negative Y in Blender is the Forward direction in Unity (+Z).

The Customize UI options show or hide some buttons in the 'N' Sidebar Panel.

If you export materials from Blender, the addon needs to determine which textures in a material are the diffuse, normal, etc.
It can either do this by detecting which textures are connected to specific sockets on a Principled BSDF or Group node. (By Socket)
OR it can guess based on the texture's filename. (By Texture Suffix)

The Convert Roughness option will invert the roughness map and name it smoothness when enabled. (Where: Smooth = 1 - Rough)

The naming options allow you to customize the texture suffixes or socket names that the addon looks for when exporting the textures.
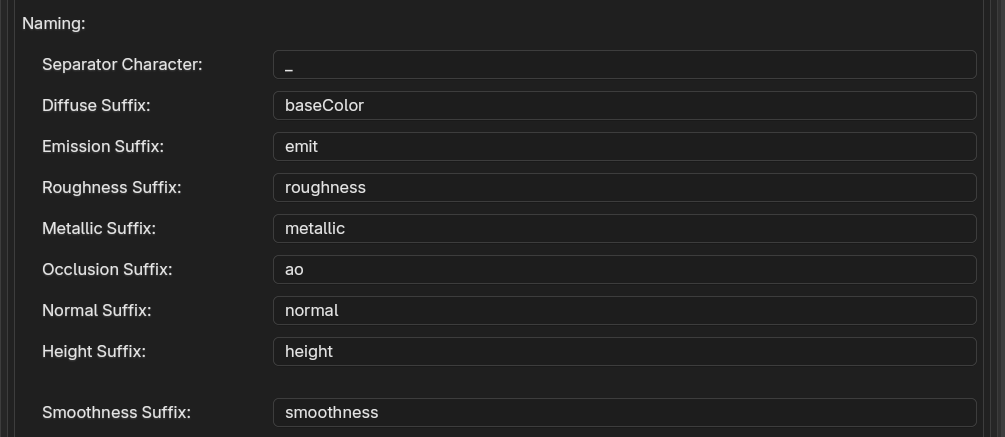
The texture names are evaluated by looking at the type suffix after the last separator character ('_' by default)

The texture packing options take separate roughness, metallic, etc textures and packs them into the channels of a single property map texture.

NOTE: As of v1.13, the following limitation has been resolved and different types of exports can all be done at once.
NOTE: Before v1.12, I hadn't come up with a way to control the order in which Unity imports assets, and therefore recommend exporting from Blender in three distinct steps.
This will ensure that the dependencies between assets are ready and available when each new asset is imported, reducing the number of assets that will need to be reimported due to missing materials or prefabs.
NOTE: The addon only exports textures linked to their map type (e.g. diffuse). It does not evaluate any of the other nodes in the material. Stick to simple materials, if you want them appear the same when exported to Unity.
The Export All Textures option will save a copy of every image found in the material when exporting, even if it wasn't mapped to a particular type of texture.

The Export Materials Button will operate on the selected objects, and will export each Material and its Textures to the 'BAsset/materials' and 'BAsset/materials/textures' directories.
Once the Materials have exported, switch to Unity so they can import.
FBXs will be exported with the Object-Data (Mesh/Curve) name of the objects in the selection. You can edit the Object-Data name by typing in the Name field.

By default, FBXs are exported to the 'BAsset/fbx/' directory. By customizing the Directory property, you can instead export each FBX to a subdirectory within that folder. Customize will edit the subdirectory property on all selected objects.

With the Rotate for Export option on, each object will be rotated by 90 degrees on the X axis during export, this allows zero'd transforms in Unity to be oriented correctly.

Export Merged FBX, saves the selected objects as a single .FBX file, the file will be exported using the name of the active object's data.

Export 'N' FBX Files, will export each Object-Data in the selection to its own FBX file, if you have 8 unique objects selected, it will export 8 FBX files.

With Collection Tools enabled in the User Preferences, the Export Collection button will be visible. It functions in the same way as Export 'N' FBX Files, but will operate on the active collection rather than the current selection. (select the active collection by clicking on it in the outliner)

If you are exporting assets that were previously exported to the same location, the old assets will be silently overwritten by the new assets.
If you have renamed the assets or changed the subdirectory property, a prompt will pop up asking you how it should deal with existing assets.
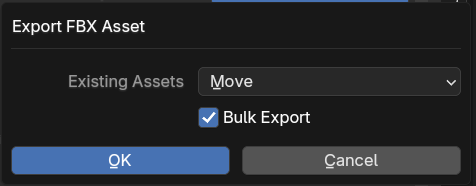
Generally it is recommended to use the default 'Move' option, this will move and or rename the existing asset before overwriting it with the new data. This should keep its Unity GUID intact, and prevent existing prefabs from loosing the asset reference.
The other options are: 'Delete' (deletes the existing assets) and 'Do Nothing' (ignores the existing assets, there will be assets with duplicate names in Unity)
NOTE: This feature only works on assets exported from the same .blend, assets with the same name in another .blend won't be checked.
Once the FBXs have exported, switch to Unity so they can import.
BAssets are JSON files, which import into Unity as a prefab, using the assets exported in the FBX step.
If Export Object Names is on, the objects in the prefab imported into Unity will have the same names as the objects in Blender.
If Export Heirarchy is also on, the parent-child relationships between objects will be exported.
NOTE: Parents that are not included in the selection, will not be exported.

You can change the name of the file that will be exported by typing into the name field. This property is stored on each object, click the pen button to set the same BAsset Name on all of the selected objects.

Customize Data to Export enable editing which parts of the objects in the selection will be exported.

You can export the objects directly, the instances contained within the objects, or both.

The Export Selection button, will save the selected objects to a .basset file in the 'BAsset/json/' directory.

With Collection Tools enabled in the User Preferences, the Export Collection button will be visible. It functions the same as the Export Selection button, but it will operate on the active collection rather than the current selection.

Once it has exported, switch to Unity so it can import and create the prefab in the 'BAssets/collections' folder.
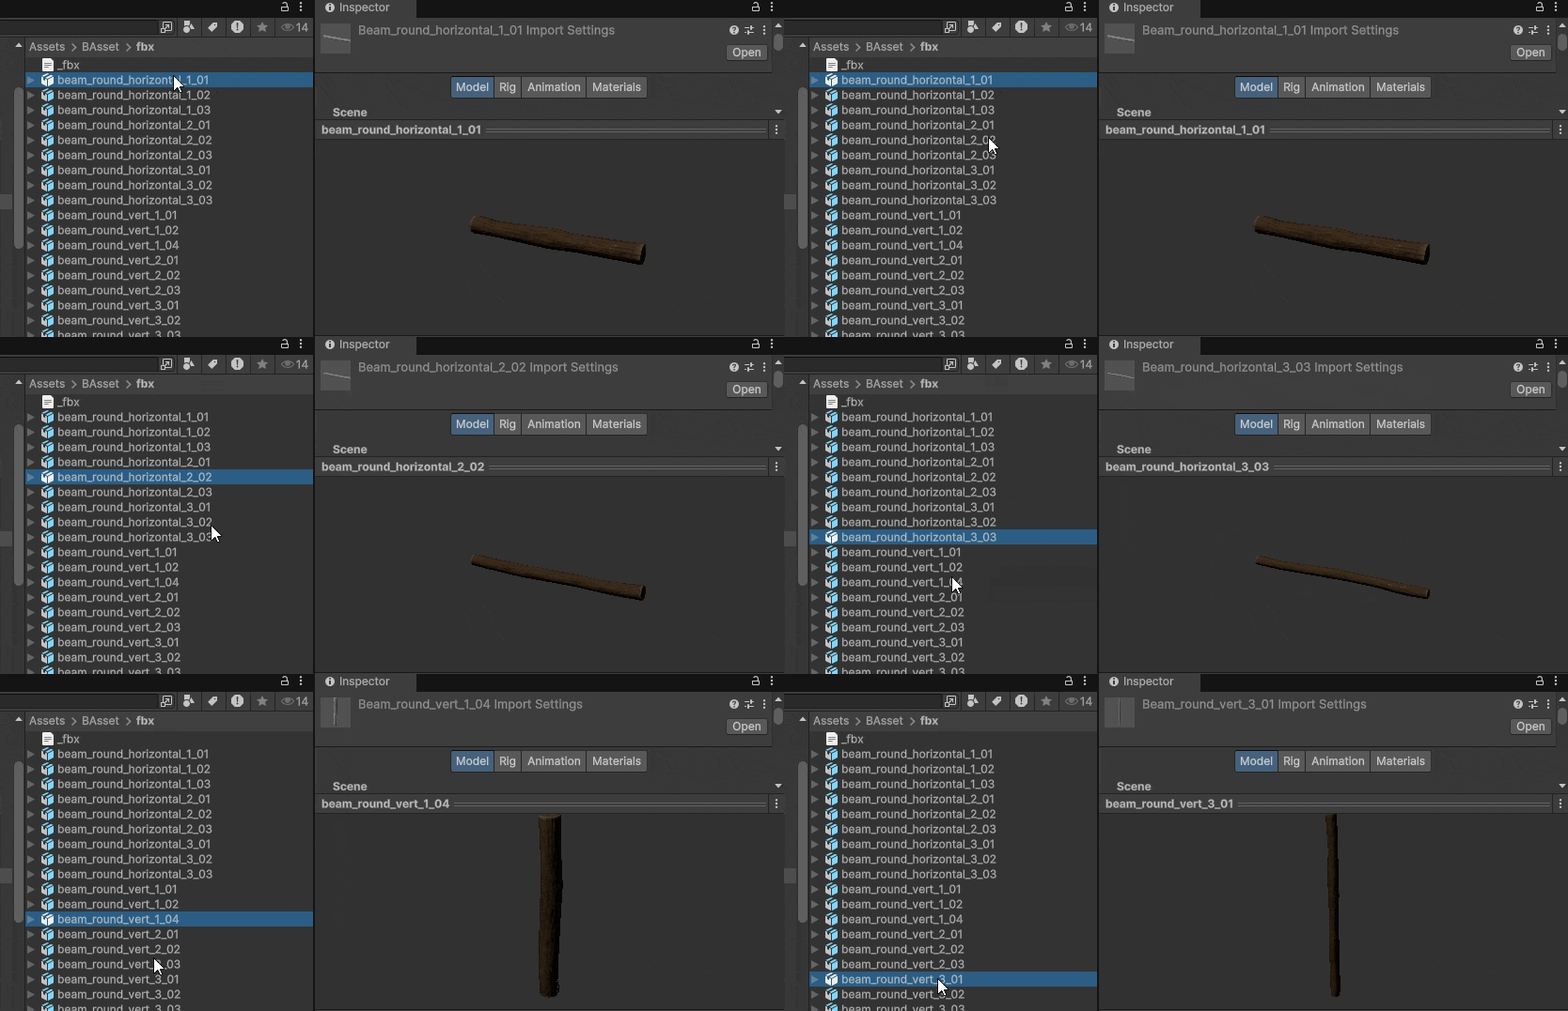
In Unity, the assets should all import automatically.
All material imports will copy the settings of the MaterialTemplate in the BAsset directory. The most likely change you might want to make is to the shader that is used, depending on your choice of render pipeline.

The FBXs should automatically search your project for matching materials to apply to the meshes.
If you select a .basset file in the Project explorer, you can edit the mesh that will be spawned for each instance name by swapping them out in the Properties window.
If the instances are broken for any reason, you can force the .basset to automatically find meshes to link to the instances, by changing the Instances Array Length to zero and clicking apply.
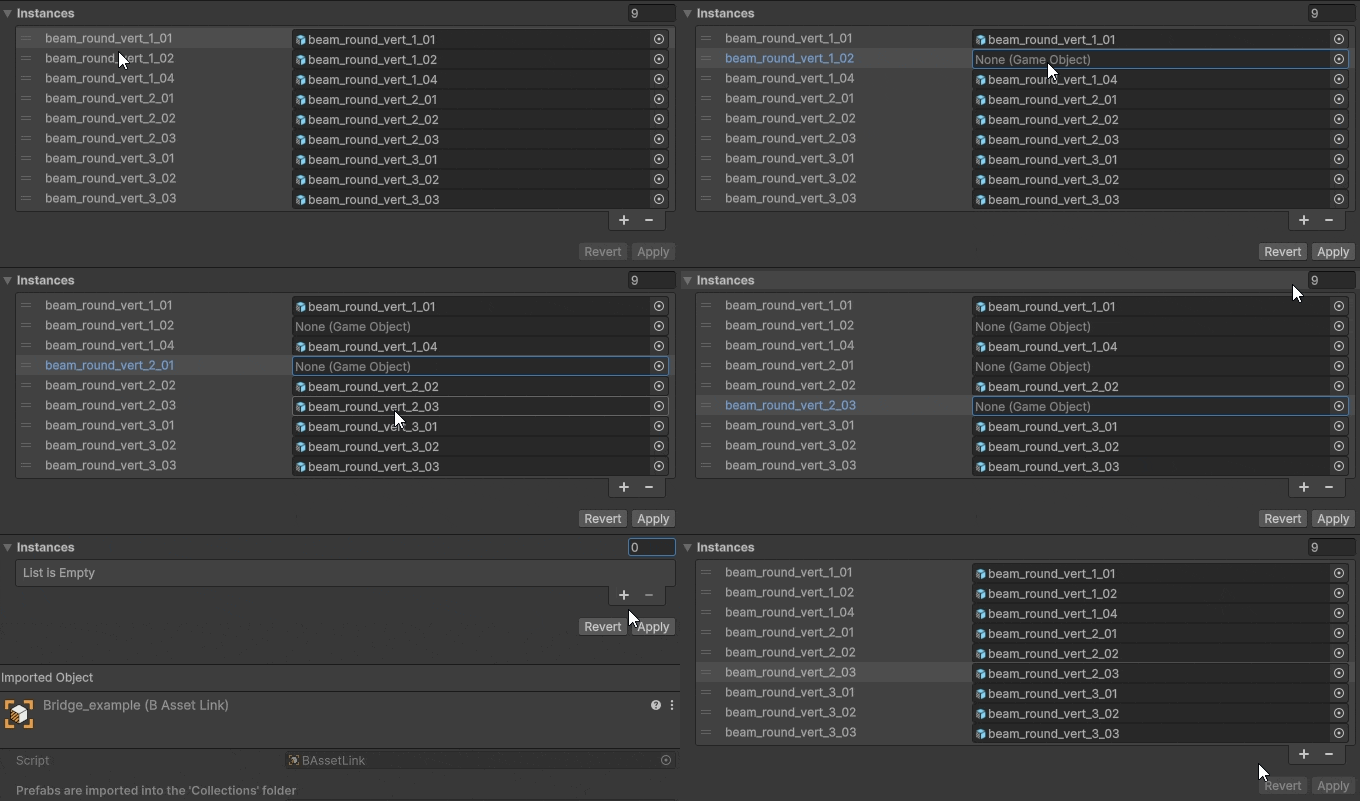
Below the instance options, is the imported object. Due to some Unity limitations, this is a link to the created prefab rather than the prefab itself. You can click on the Prefab slot to reveal and highlight the prefab in the Project explorer.

The generated prefab can be dragged into the scene like any normal prefab. The generated prefab will be replaced whenever the .basset is reimported, so it is not recommended to add scripts or components into the generated prefab directly. You can safely add components in the scene or to a prefab variant.
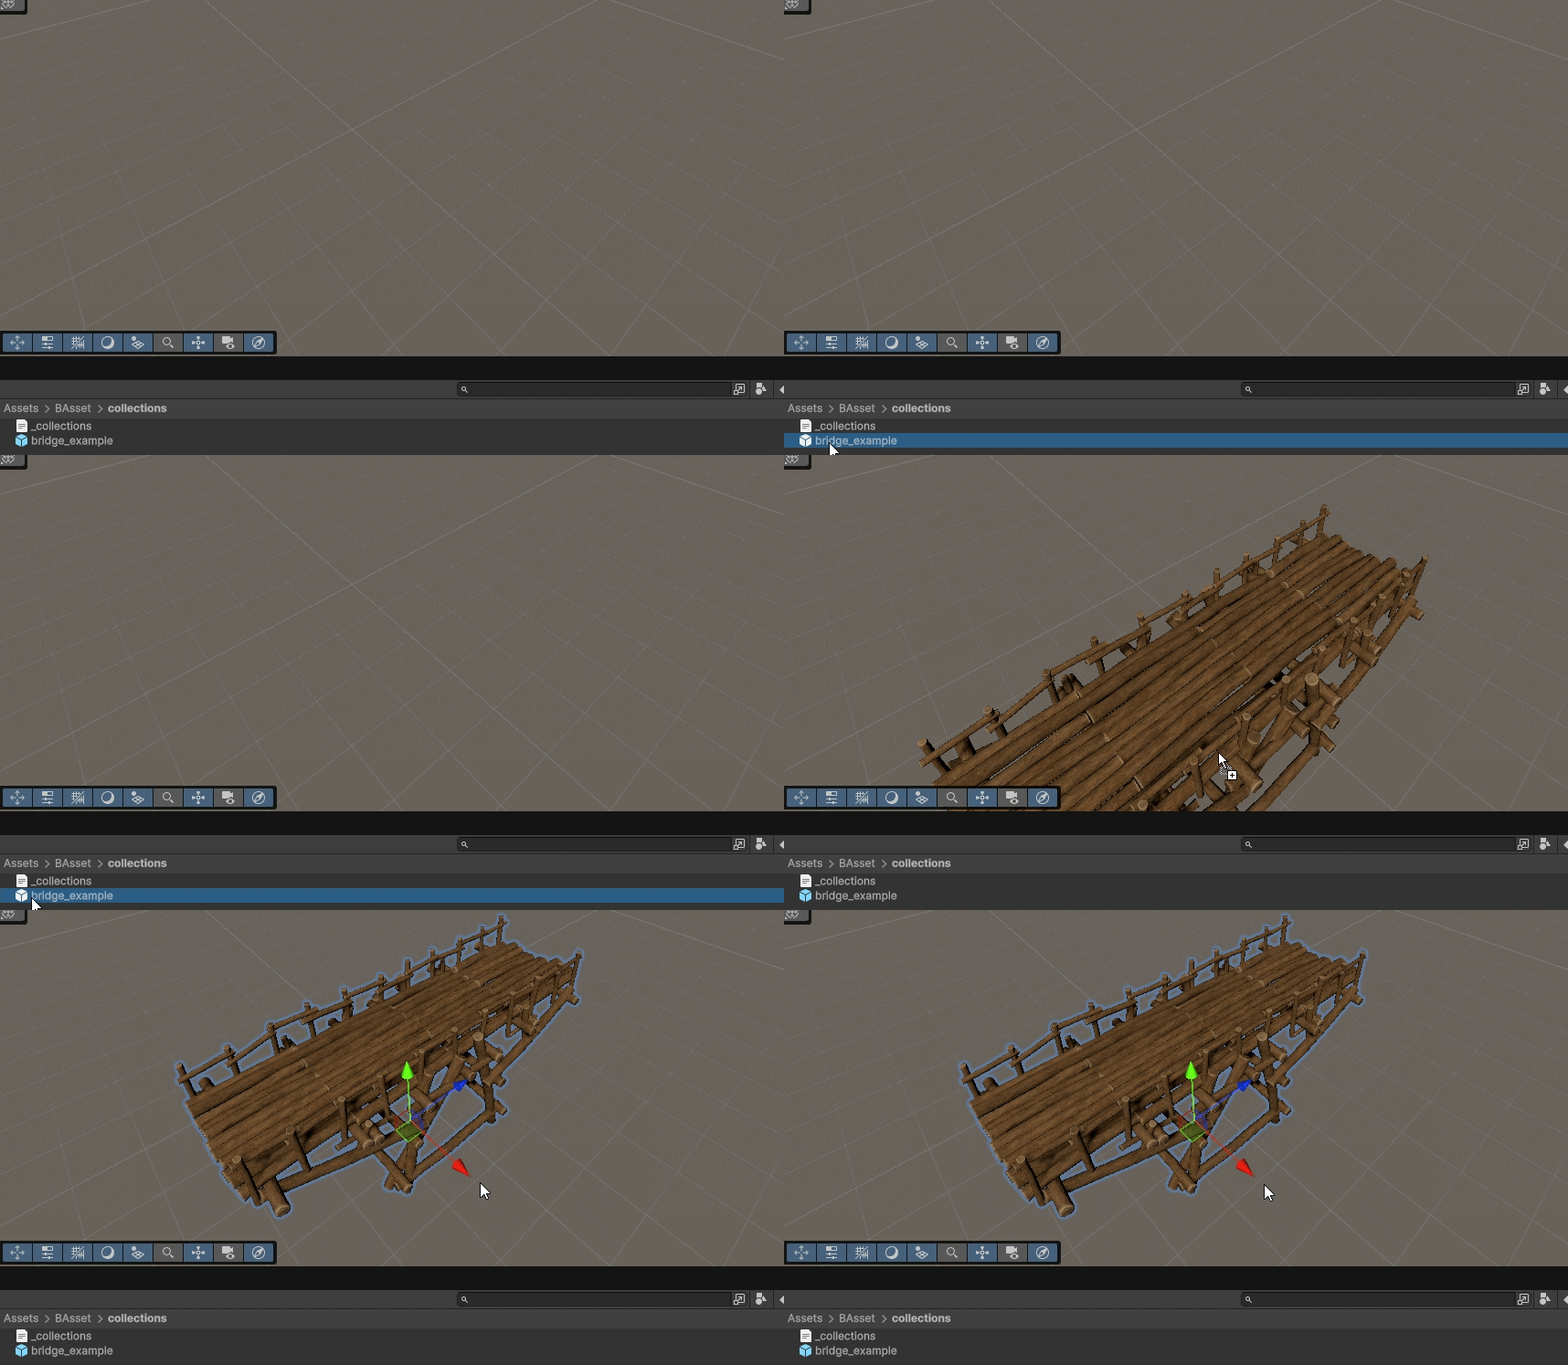
In your Unity project I recommend keeping everything organized in one folder:
| BAsset | the BAsset root folder | |
| - | _scripts | contains the editor scripts for importing .basset files |
| - | collections | intended for prefabs created from .basset files |
| - | fbx | intended for .fbx files exported from Blender with the quick export button |
| - | json | intended for .basset files exported from Blender with the BAsset export button |
| - | materials | intended for materials exported from Blender |
| - | prefabs | intended for prefabs created from .fbx files |
There are a couple of settings defined in constants at the top of the '_scripts/editor/BAssetImporter.cs' script. If you want to customize folder names or whether imported FBXs are automatically copied into prefabs, you can edit these constants.
