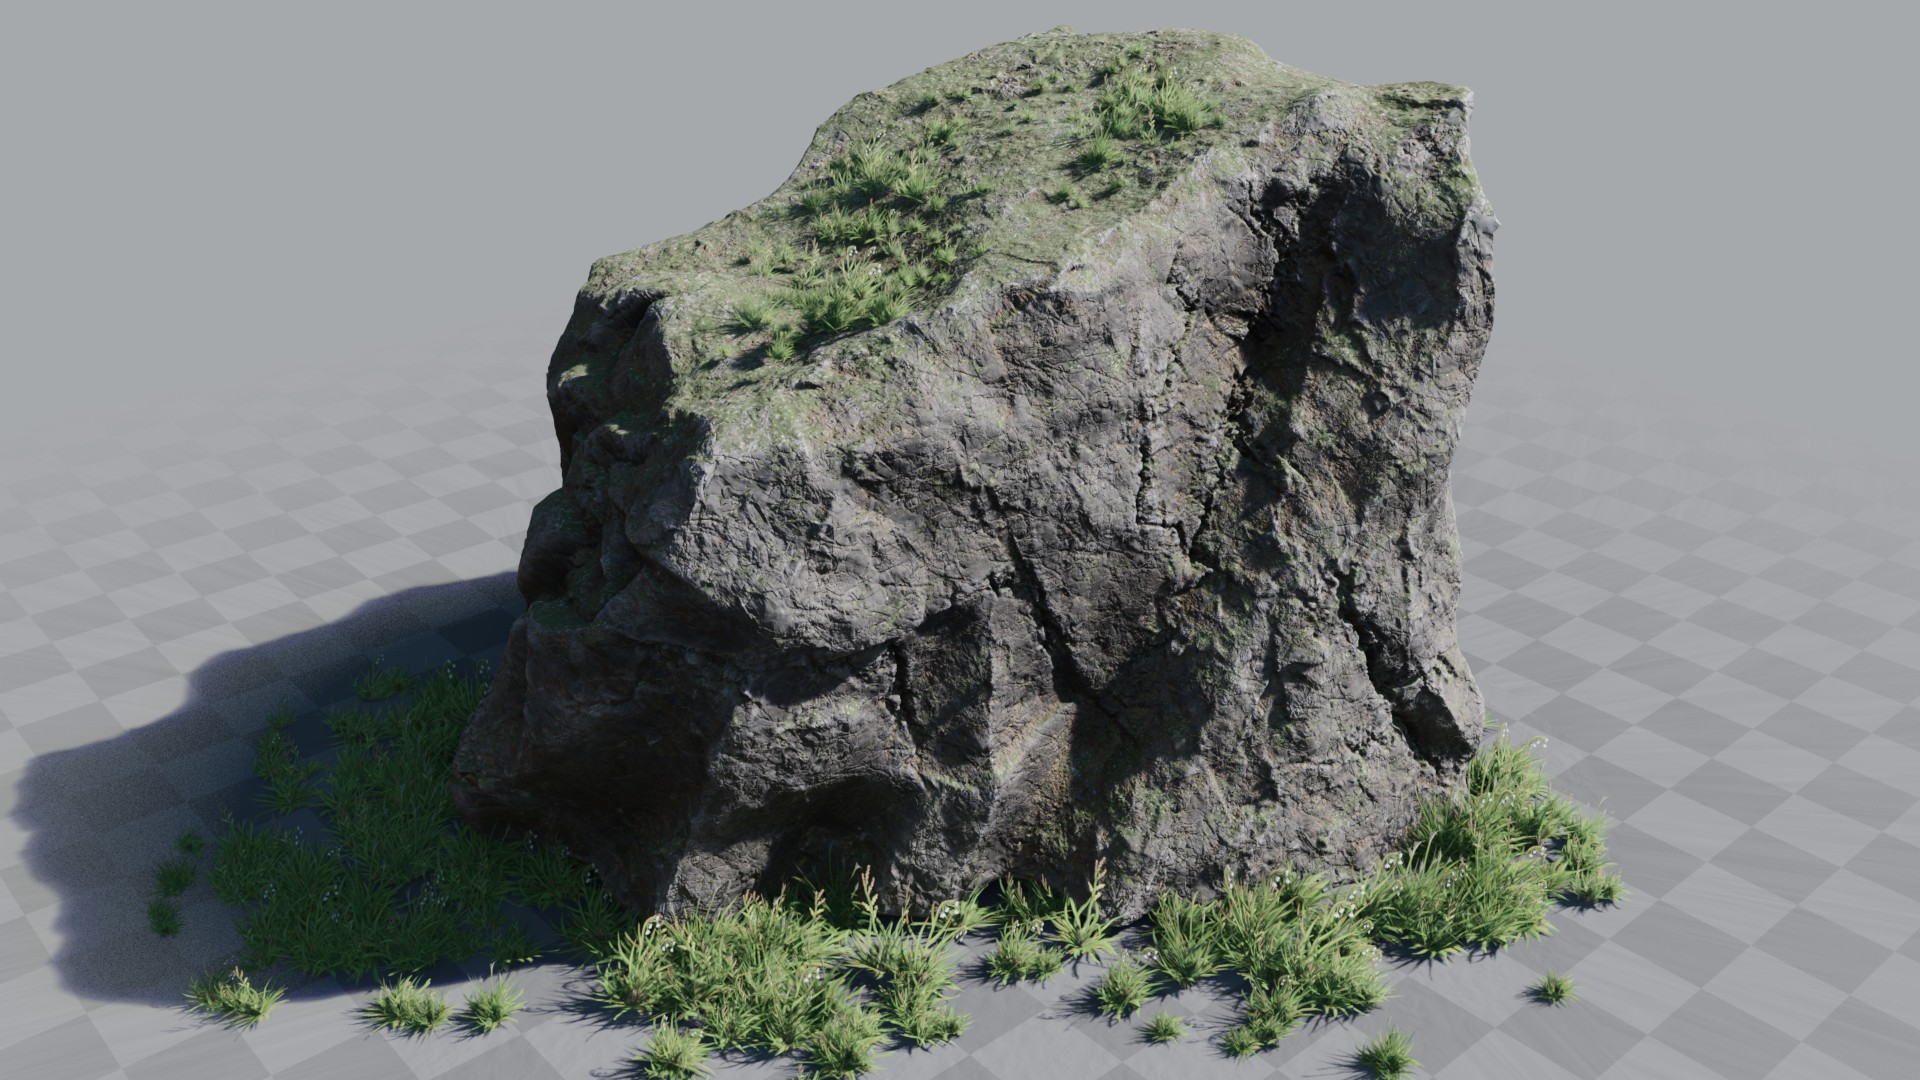
Petrify is a library of tools designed to help you make rocks. Whether you want a bunch of small rocks to scatter across your scene, a few large rocks to feature in a landscape, or one 'hero' rock to sculpt on, the Petrify library should have some tools that will help you.
The backbone of Petrify is a set of Modular Geometry Node Modifiers, these modifiers are tools to help you make rock shapes in a procedural way. Beyond the shape, there are tools to help with shading and materials, sets of textures to layer up detail across the surface, brushes for sculpting, and presets for ease of use or to learn from.
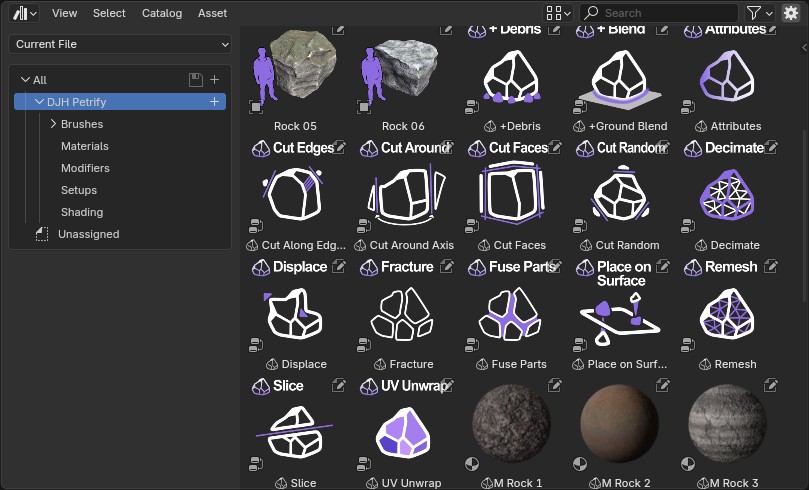
The modifiers can be added by dragging and dropping from the asset browser or by searching in the add modifiers menu.
A good general workflow is to start with a simple base shape, something like a cube.
Add one or a couple of the 'Cutting' modifiers to create a rock shape.
Then depending on the size and style of rock you're going for, it would be a good time to add a Fracture or Slice modifier.
Once you're happy with the overall shape, add a Remesh modifier to increase the resolution of the mesh. This is needed to achieve good results with vertex based shading effects or for modifiers that prefer a higher density of points.
With the mesh at your desired resolution, add the UV Unwrap modifier to create texture coordinates.
Often after remeshing, the original low-poly polygons will still be somewhat visible in the rock, to break up those flat surfaces it is good to add a Displace modifier.
Finally, add an Attributes modifier to save some data on the mesh that you can use for shading. (Attributes should always be at the bottom of the modifier stack)
Then you can drop one of the preset materials from the library onto your rock, and tweak it to your liking. Or you could build your own material using the shader nodes and textures that are included in the library.
With one rock made, creating a variation is as simple as duplicating it and randomizing the seeds.
This is a good setup to use as a starting point, but there are many more ways in which the modifiers can be combined to achieve interesting results.
For more concrete examples that take you step by step through creating a specific stack of modifiers, check out the three showcases below. You can open them up and see each modifier as it was added, the the exact settings used, and explanations of why I chose that modifier to get the result I was looking for.
My DJH Utils addon (v1.46+) adds some quick tools directly to the modifier panel.

The Randomize Seeds operator looks for parameters named 'seed' in all modifiers on the selected objects and sets those parameters to a random value.
The Auto-Name Modifiers operator renames all of the modifier slots, to match the name of the modifier that is in that slot.
But the main feature is the Bake Modifier Stack operator, which adds a 'DJH_Bake' modifier immediately after the selected modifier, bakes all of the modifiers that are above it in the stack, and then disables them. This tool is useful for all slow modifier setups, not just Petrify.
In the video above, you can see that the modifier stack takes several seconds to bake, but that afterwards the displace modifier is still interactive. Without baking, that same displace modifier would take several seconds to update after each setting change.
The DJH Utils addon is included as an optional download when you purchase Petrify, or you can download directly from my website: DJH Utils
While the Petrify library contains 6 preset materials that provide a huge range of possible variations, it also provides a bunch of shader nodes that you can use to make your own custom materials.
One of the included assets is the 🪨M Tutorial material, this material contains most of the shader nodes that come with petrify combined together to make a very simple rock material.
Within the node tree itself, I have divided the material into mini-examples and written about how the nodes in each example can be used. My hope in putting this tutorial into a material asset, is that it will provide a bunch of helpful information directly adjacent to the actual nodes, allowing you to experiment, tweak values, and see for yourself how the nodes I'm talking about effect the result.
After purchasing from Superhive or Gumroad, download the DJH_Petrify_library.zip file.
Extract the DJH_Petrify_library folder from the .zip file to a convenient location on your computer.
In Blender 4.3+ open the user preferences, and select the File Paths tab. In the Asset Libraries section, click the '+' to add a new library and browse to the DJH_Petrify_library folder that you extracted from the .zip.
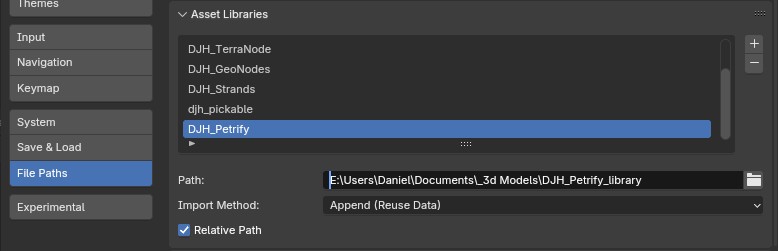
Once it has been added, you can double-click on the library to rename it, I prefer to remove the '_library' suffix.
If it was installed correctly, in your asset browser, you'll find a DJH Petrify catalog and categorized sub-catalogs to keep all the assets organized.